Setup Azure Privileged Identity Management (PIM)
As Microsoft Azure continues to evolve and is ingested more and more by customers, so has the requirement to ensure that more users have access to the services on offer. In a world of ‘least privileged access’ Azure PIM plays an important role in ensuring that access is only delegated as and when as opposed to remaining in place all of the time.
Below we will walk through a basic setup of how we can make PIM work for us!
Wait….. First lets check licencing?
PIM is a great service but its not native to an Azure tenant so you will need the following licence in place (or at least a trial to start with!)
- Azure AD Premium P2
- Enterprise & Mobility + Security E5 Add-on
- Microsoft M365 E5
PIM Walkthrough……
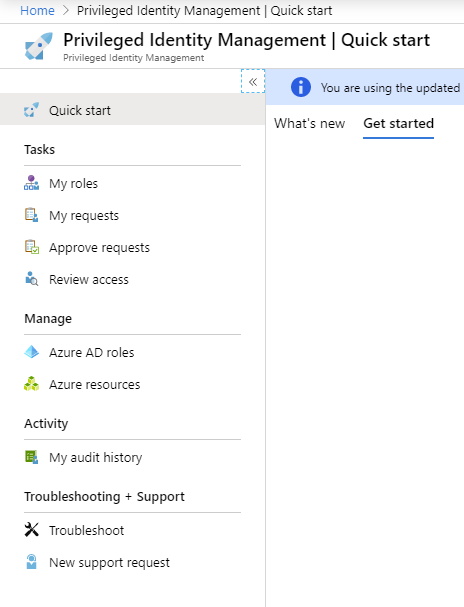
- Start by searching for the PIM Service Microsoft Azure
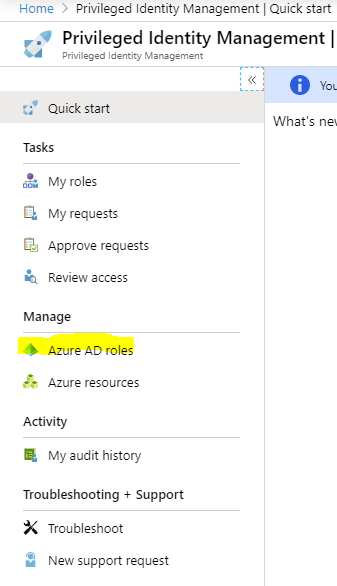
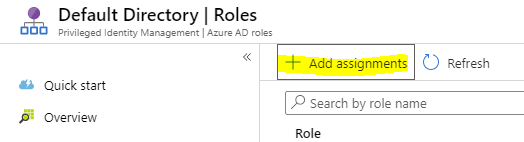
2. Select Azure AD roles
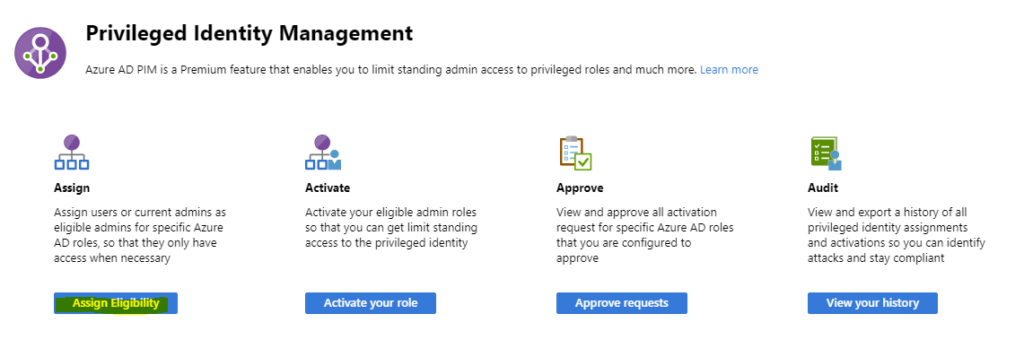
3. Now lets assign eligibility to a role
4. Click Add Assignment
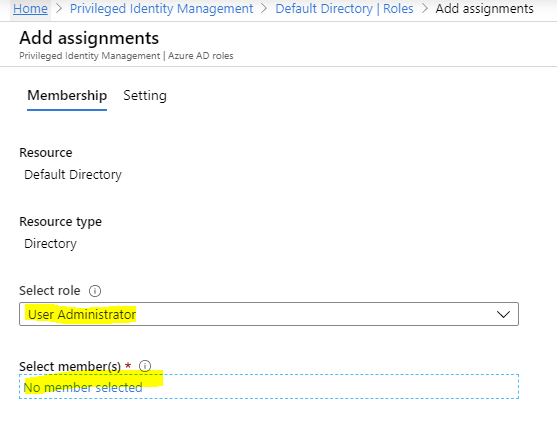
5. Select an Azure AD Role and then assign this to a User or Group for access. Click ‘Next’
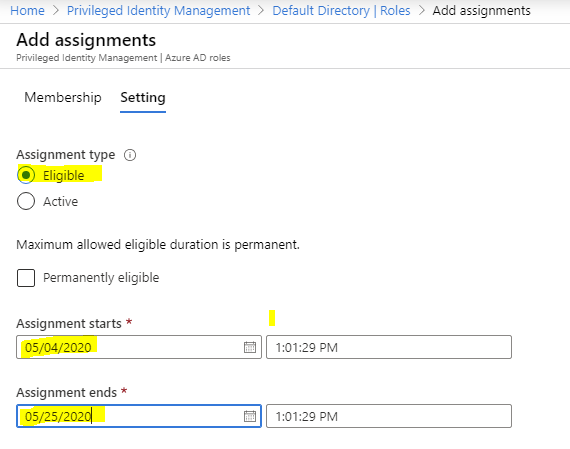
6. On the ‘Assignments’ page, configure accordingly. In this example, I am granting 14 days access to elevate to ‘User Administrator’ for a user Peter Martin. Click ‘Assign’
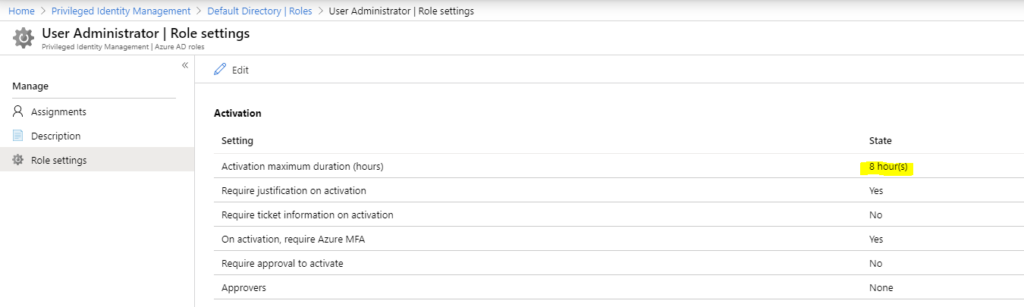
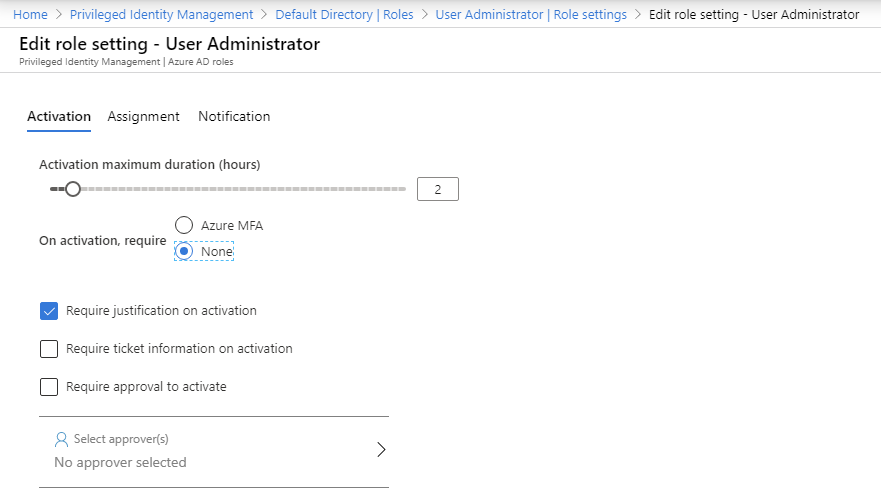
7. We can also amend the role settings for access. In this example we will edit the amount of elevation time from 8hours down to 2 hours
Now lets see what its like for the user signing in
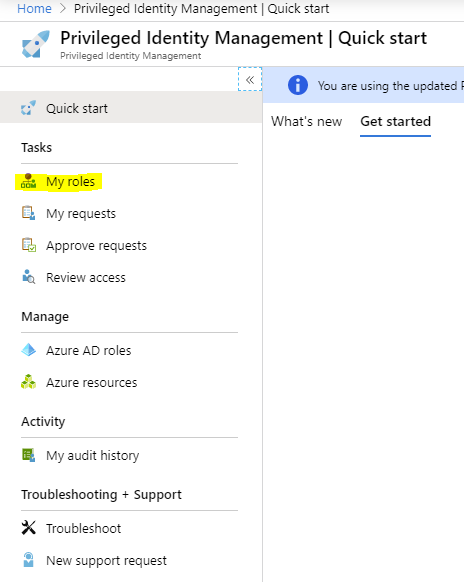
8. Signed in as the user, navigated to the PIM Service and selected ‘My Roles’
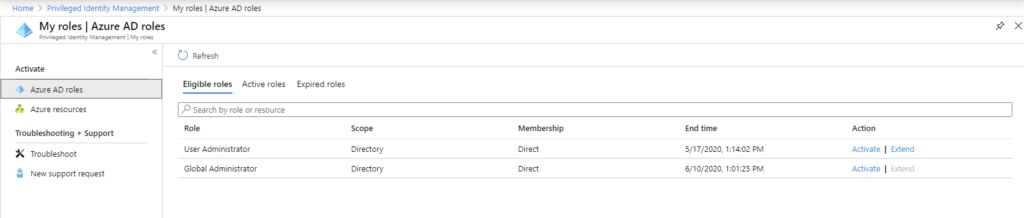
9. As we can see, there are two roles we can potentially activate. For the purpose of this article, we will select ‘User Administrator’. Select ‘Activate’
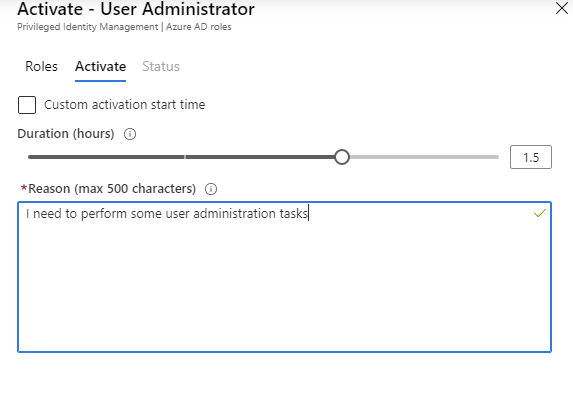
10. As we can see, there is scope to request 2.0 hrs and we are required to input a reason for auditing purposes. Click ‘Activate’ once ready
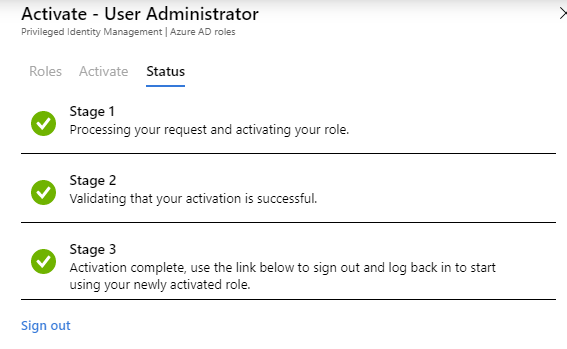
11. The request will be submitted and upon successful approval, you are required to sign out and back in to Microsoft Azure
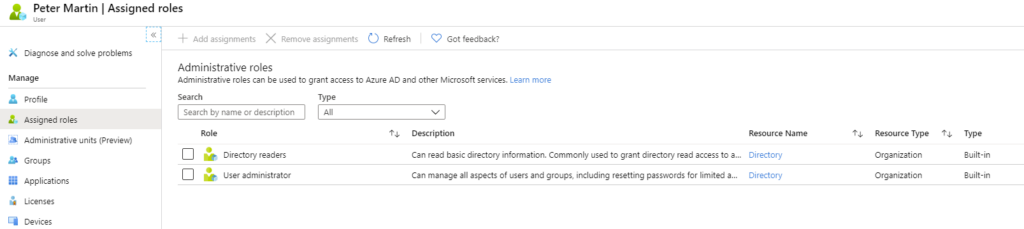
12. Signed back in, under my assigned roles we can see the newly assigned role
And that’s it! A nice basic example but one that you can take, plan and subsequently design out a PIM strategy that works best for you and your organisation.